Showing posts with label la - la land crafts. Show all posts

16/11/2019

La - La Land Crafts - November New Release - Day 5


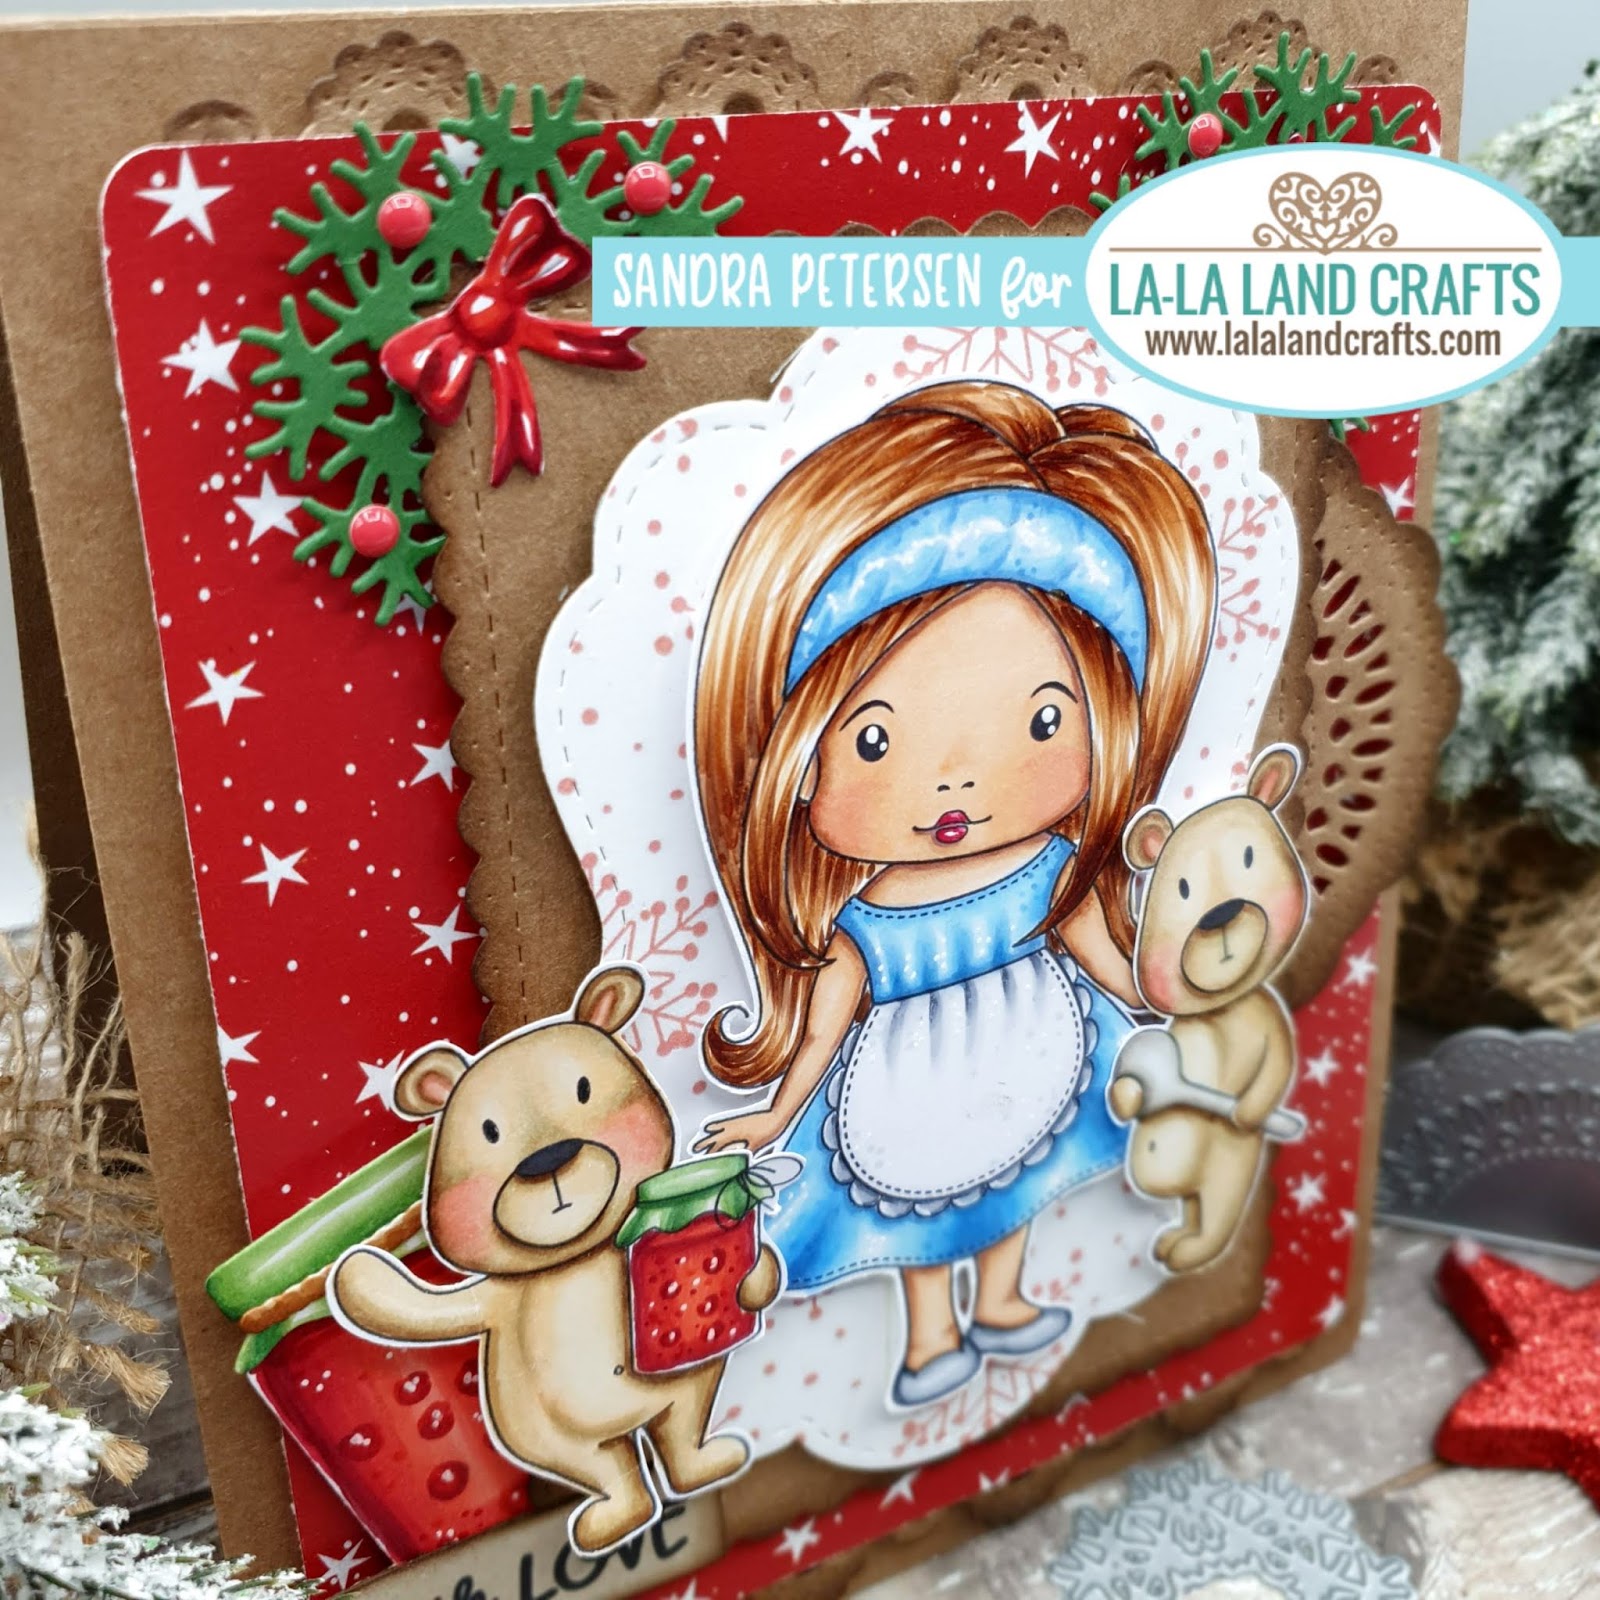
Hello everyone on this great saturday morning! It is Day 5 of the La - La Land Crafts NEW RELEASE Showcase and today is all about Marci and her cuddly little bears helping her in the kitchen.


The Kraft Cardstock is a really good combination with the red NEW paper pack and have you seen the fantastic NEW half doily die?
Everything fits together so absolutely perfect! I LOVE it!


And doesn´t the little bear looks like he wants to tap everyone on the hand who comes to near or want to take is strawberry jam?


Products used:


Copic Marker used:

Marci Skin: E000/00/04/13/21, R20/22
Marci Hair: E21/23/25/93/95/97/99
Clothing: B0000/12/32/34/37, C00/1/3
Bears: E50/51/53/55/57
Spoon: C00/1/3
Marmelade: G40/43/45, R22/24/27/46/59
Bows: R22/24/27/46/59
white Gel Pen

Crafty hugs, Sandra

03/11/2019

La - La Land Crafts - Tropical Feelings


Hey crafty friends, are you ready for some sunshine, tropical feelings and all that great stuff?

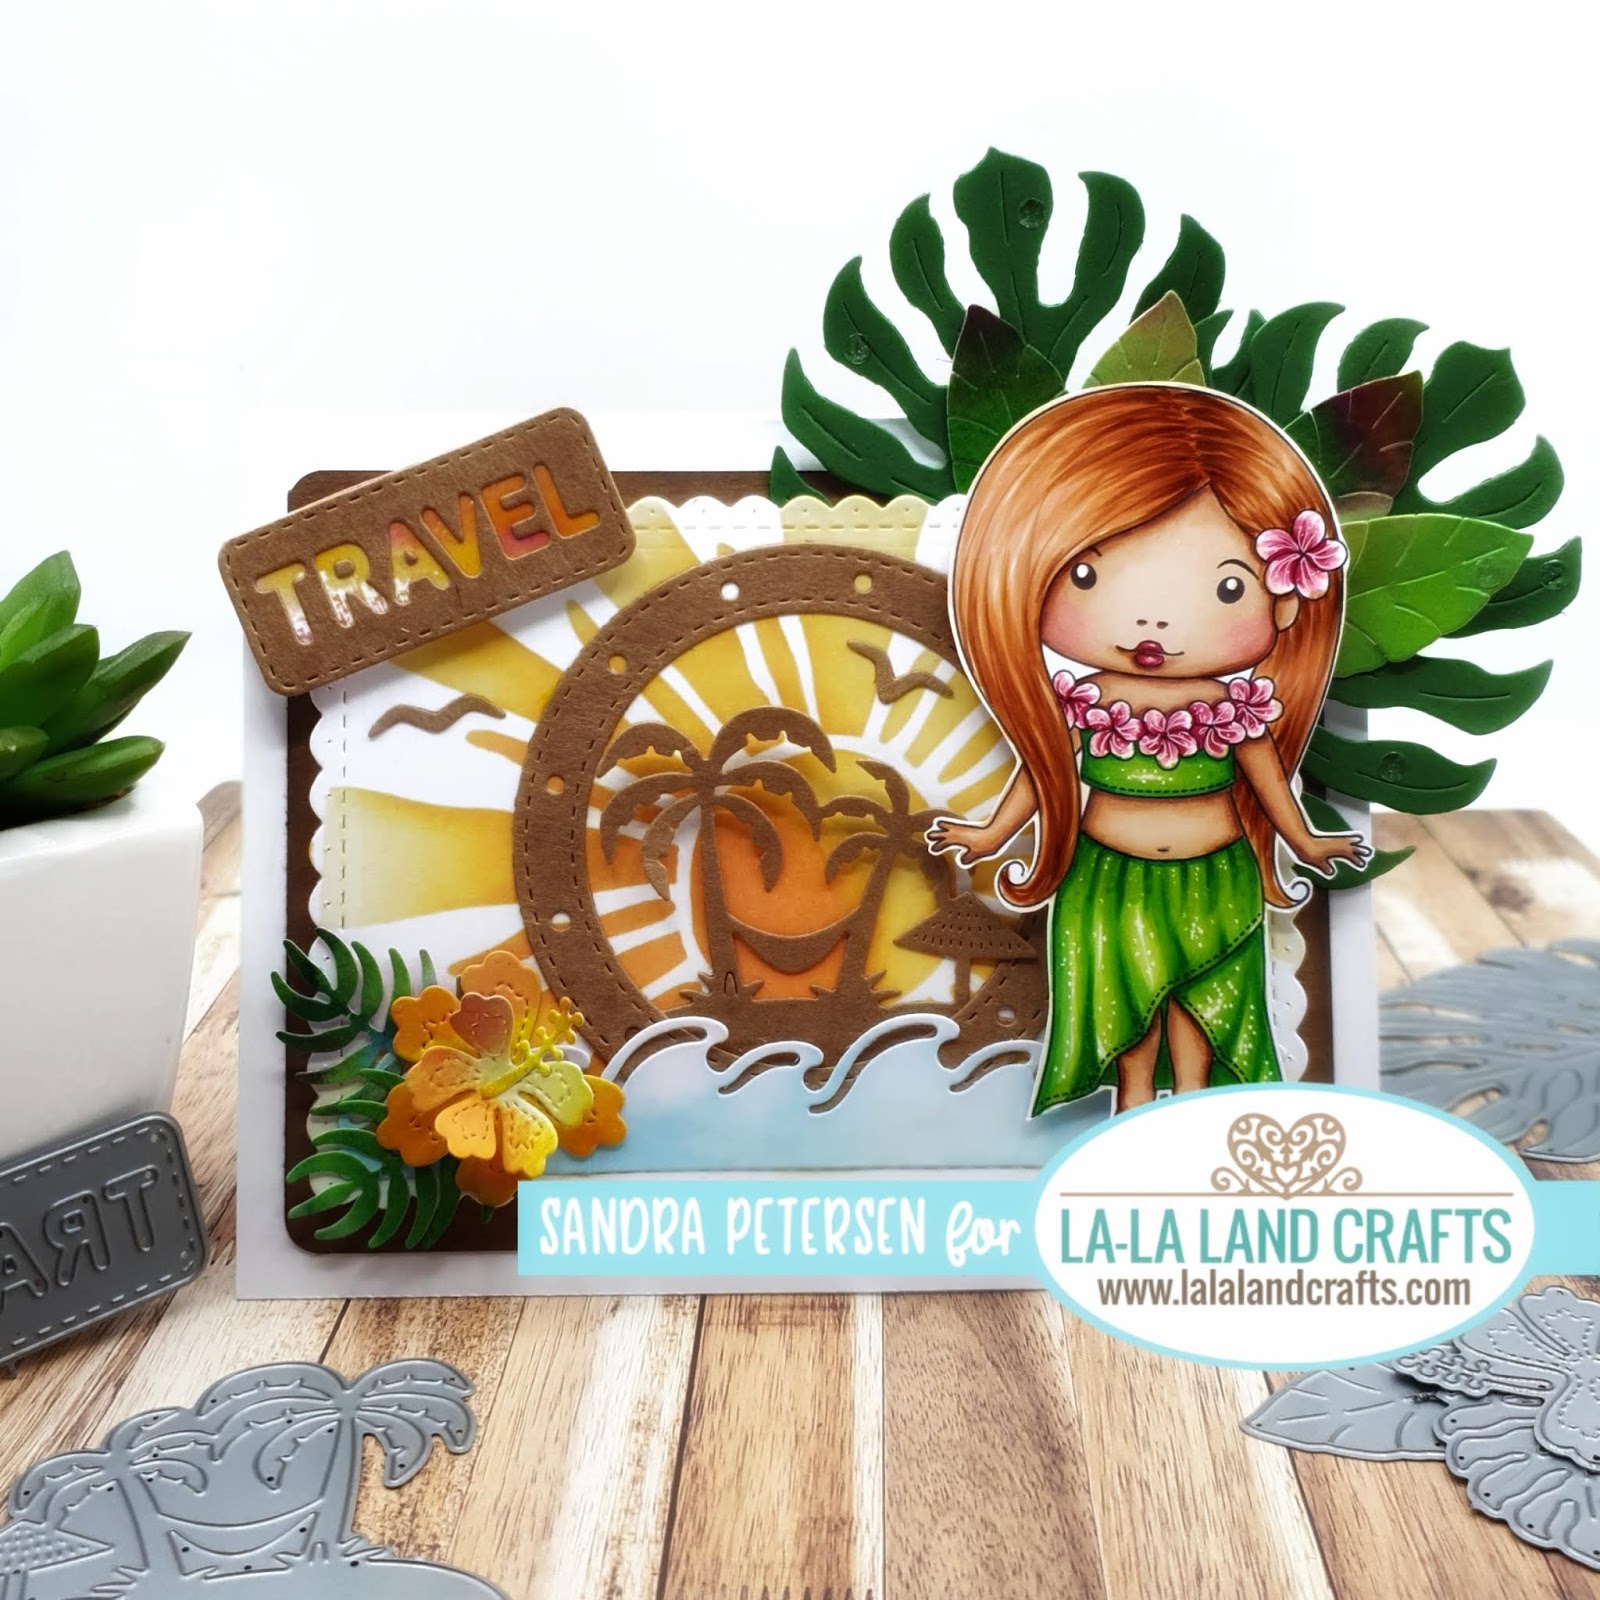
Here comes Plumeria Lei Marci with her colorful dress and wonderful blooming hibiscus flowers on it.

How I did this card?

At first I die cut all the tropical leaves using the sheets from the Inky Paper Pack with a lot of green.

The background was stenciled on the biggest Scalloped Rectangle Die Cut with Distress Oxide "Spiced Marmelade" and the new stencil "Summer is Here" set.

I layered up the Port Hole and Hammock Island die cut and added two birds. I die cut everything from Kraft Cardstock.

The Hibiscus Flower on the left gets an extra accent with some Distress Oxide "Spiced Marmelade" so it fits perfectly to the color scheme of the card.

The wavy border in front was colored with Distress Oxide "Tumbled Glass"


Products used:


Copic Marker used:

Skin: E000/00/04/13/21
Lips/Cheeks: RV21/23/25/29
Flowers: RV00/21/23/25/29
Skirt: G09, YG00/05/07/09/17
Hair: E23/25/93/95/97/99

Crafty hugs, Sandra

18/10/2019

La - La Land Crafts - Inspiration Friday - Black and Orange


Hi crafty friends, Sandra here with another Inspirational Friday and today is all about "Black and Orange" at La - La Land Crafts

I decided to use another galaxy background I made with alcohol ink and isopropanol. Colored up this cute Frenchie with his basket and two of the cutest bats I have ever seen!
Arranged them with some die cuts and layered everything on black and orange cardstock. Finally added the sentiment and here you go...this is my card!


Products used:


Copic Markers used:

Bats: C00/00/1/3/5/7
Frenchie: W00/1/3/5/7, R20/22
Cape: BG00/02/05/07/09
Basket and Stars: YR16, Y11/13/15/18, E35

--------------

Please don´t forget to share what you make, I love to see what you do!

Hugs, Sandra

12/09/2019

La - La Land Crafts - Tutorial Thursday - Box Making


Hello lovelys, are you ready for a cool box making tutorial? Today it is my - Sandra´s - turn to show you how I made this little box covered by another box.


You`ll need the following:

White Cardstock in 8 5/8" x 8 7/8"
Scraps of Cardstock in green and yellow
Gluestick or something similar
Distress Oxide in Mermaid Lagoon
3D Foam Tape or Pads
Ribbon
Nuvo Drops in white 
Circle Die of your choice


Take your piece of cardstock, long side above and score at 4" and 5"


Turn paper and score at 1" / 3 7/8" / 7 5/8"


Turn your paper again and score at  1/4" / 1 1/4" / 7 3/4" / 8 5/8" but only score the line like shown above in the photo. It will end at the 3 7/8" line


Cut off on both sides the small 1/4" scored paper and make a cut from the left side to the 4" score line and from the right side to the 5" score line


Fold all scored lines and cut off the marked paper as shown in the photo.


It should look like this. Then you cut a half circle into the paper like shown in the photo


Get your stencil and ink ready. You can color up the whole box or only the outside as I did.


It should look like this.


Let`s start assembling the box. We start with the outside. Get glue on the marked paper and stick it together.


It will look like this when you`ve finished.


If you want you can add a small ribbon into your box, glue it on the paper like shown above and put the box together like you`ve done with the outside box.


You`ll get this when you`ve finished.


Stamp this little fairy and color her up. Cut out the shown pieces, add some Nuvo Drops to the blossoms and let dry.
With 3D Foam or tape stick the first layer to the box and then add the other die cuts as shown in the photo.


That`s it! Your box is ready and I hope you enjoyed making it!

Have a great day. Hugs, Sandra

23/08/2019

La - La Land Crafts - Inspiration Friday - Anything but a card

Hi there, Sandra here with another cool Inspiration Friday themed "Anything but a card" 
I hope you all had a great week and will start into a fantastic perhaps a little bit crafty weekend!

Today I want to show you a really funny and interesting box!


Products used:


Copic Markers Used: 

Pig: R000/01/02/11/20/22, W5, E04

Hopefully I´ll see you all next week!

Hugs, Sandra


16/08/2019

La - La Land Crafts - Inspiration Friday - Birthday Card

Today is all about Birthday at La - La Land Crafts and I decided to get cute little Marci into a polaroid die cut, showing her colorful garland and wishing you a really happy birthday!


Products used:


Copic Marker used: 

Skin: E000/00/04/13/21, RV23/25, R20/21
Hair: E21/23/25/27/50
Dress: RV21/23/25/29
YG05/09, G09, R22/24/27, Y15/18/38, BG02/05/07

Have a great start into the weekend!

Hugs, Sandra

18/07/2019

La - La Land Crafts - Inspiration Friday - Interactive card


But what if you fly and reach out for the stars? Superhero Luka is ready to give it a try and slides across my interactive card.


Products used:


Copic Markers used:

Skin: E000/00/04/13/21/20
Hair: E21/23/25/27
Suit and Cape: BG00/02/05/07/08, Y11/18/38, YR16, C00/01/03/05/07
Shoes: E30/31/33/35/37

Hope you'll all have a crafty weekend!

Hugs, Sandra

21/06/2019

La - La Land Crafts Inspiration Friday - But what if you fly

Are you ready for take off?

It is Inspiration Friday at La - La Land Crafts and I want to show you a cool slider card with the flying piggy from the new release.


Butywhat if you fly? is the sentiment saying and look how the piggy is gliding through the colorful sky.


The sun is shining bright, the grass is wonderful green and the flowers are in full bloom.


Products used:


Copic Markers used:

Pig: R000/01/02/11/20/22, W5, E04
Clouds: B0000/000/00/02/05
Greens: YG03/06/09
Sun: Y11/15/18/38
Flowers: RV21

Happy crafting everyone!

Hugs, Sandra

20/06/2019

Tutorial Thursday - Super easy and fun trapeze box

Hi all, it is Sandra here showing you today a super fun and easy to make trapeze box you can use as a gift wrapping for small presents.


What you'll need to craft this box:

Best of Cluck Clear Stamp Set
Poultry in Motion Clear Stamp Set
This little Piggy Clear Stamp Set
Leafy Vine Die
Long Flags Die
Daisies on my Mind Layering Stencil
Mini Butterflies Die
Jingle Bells Wreath Die
Double Stitched Ovals Die
Pierced Scalloped Ovals Die
Stitched Nested Circles Die
Spring Blossoms Small Die

2 sheets of white cardstock in 10 1/4 x 3 1/2"
1 sheet of blue cardstock in 11 x 7 7/8"
1 sheet of pink cardstock in 11 x 7 7/8"
Distress Ink/Oxide - Twisted Citron, Picked Raspberry, Mermaid Lagoon, Scattered Straw
Nuvo Drops
Foam Pads and Foam Tape
doublesided Tape
Glue
Scissors
Score Board
Blending Brushes or Pads


Lets start making the first box.

Take your blue cardstock and score it on the long side as shown in the photo at 2" / 4" / 7" / 9"


Turn the cardstock and score on the short side  as shown at 2" and 5 7/8".


Cut off the marked paper.


Your paper should look like this right now.


 Fold all your scored lines.


Your box should look like this right now.


Close it like shown in the photos.


Do the same with the pink cardstock and build the second box.

Die cut some spring blossoms in white and pink and add a small amount of Nuvo Drops in the center.

Set aside and let them dry.


Lets start making the sleeve for our box.

Just follow the photos below, they show you step by step how to use the stencil and the distress ink/oxide.


The sleeve for the blue box is done.
Now go on with the other sleeve.


Your second sleeve is ready.


Score at the back of the cardstock at 2 1/8", 4 1/8", 6 1/8" and 9 3/8"


Stick the doublesided tape to the small flap as shown in the photo below.


Put the sleeve together.


Pull the sleeve over the box.


Die cut 4 Long Flags (second smallest die) from green cardstock.
Fold it so you can glue one flag to every side of the box. The flags will overlap at the top but that is ok.


Cut of the top of the remaining 2 flags and glue them on top of the box so that it looks like a present wrapped with ribbon.


Die cut a wreath in green, glue it onto the box.
Take the stitched circle die and cut with the fourth smallest die a circle from white cardstock.
Adhere foam tape to the back of the circle and stick to the middle of the wreath.


Add flowers and the bow.


Now color up the little piggy and his flower by following the photos below.


Fussy cut the piggy, add Foam Pads on his back and stick him onto the box.
Add a small butterfly to the flower.


Lets finish the decoration for the pink box. Die cut a pierced oval (second smallest die) from pink cardstock and a stitched oval from white cardstock.
Add foam tape to the back and stick the die cuts together.


Stamp "hey, chickie" on it


Die cut 4 long flags and follow instruction from the blue box to create this look of a present.


Die cut a bow, a butterfly, a leafy vine and arrange them on the box like shown. Add some small flowers.


Then color up the little chickie.


Fussy cut it, put foam pads to its back and stick it to your box.

Hey, you have finished now and will have 2 wonderful boxes you can fill with small suprises or presents.

I hope you had fun with my tutorial and I would love to see what you'll make!

Hugs, Sandra